
Why Christmas Tree Storage Is Important
From my point of view, taking care of an artificial Christmas tree is essential to maximize its value. Sure, it’s pricier than a real tree initially, but the cost pays off over time. But this isn’t just about saving money – it’s about preserving the tree’s quality and appearance.
While you don’t need to water it or clean up fallen needles, storing it correctly post-holiday season is crucial. Not only does it save space in your home, but it also helps maintain the tree’s condition. Just stuffing it into a bag and shoving it in a closet can lead to damaged branches, pests, and even mold.
As for gift bags, proper storage is just as important. Keeping them in good shape means they’re always ready to use, saving you from last-minute scrambles. Organized storage also saves time, as you can easily find the right bag for any occasion.
Beyond convenience, correct storage can help save money. When you know exactly what you have, you won’t buy more than necessary. Plus, you’ll extend the lifespan of your bags, reducing waste and promoting sustainability.
Storing your Christmas tree properly is vital for its longevity and beauty. While the original boxes might work for a year or two, using tree storage bags can help prolong its life. These bags protect your tree from dirt and moisture while maintaining its shape. They also safeguard the lights on the tree.
My advice? Don’t stack anything on top of your storage bag. Store it flat in a cool, dry place with stable temperatures. Avoid places like attics or garages where temperature swings are common. Proper storage means your tree will look just as spectacular next Christmas.
Read more about guide to buying: Handbook for Purchasing a Pop Up Christmas Tree

Which Christmas Tree Storage Container To Use
If you prefer to disassemble your artificial tree every year, you’ll find that you have more storage container choices than if you leave it put together. For instance, you can repurpose the cardboard box it originally came in, use a duffle-style dual zipper Christmas tree storage bag, or even a plastic Christmas tree storage box. While I haven’t had much success finding plastic storage boxes for Christmas trees online, they’re frequently spotted at big retail stores, particularly around late December and early January. Ultimately, the choice will depend on how much storage space you have and what’s most convenient for your tree’s size.
How to Properly Store a Christmas Tree
1. Removing Ornaments and Lights
Oftentimes, folks get their trees professionally decorated, where ornaments are secured with wire ties to stay in the right spots. Doing this saves you from hiring a pro every year. But this approach has its drawback – you can’t fold up the branches for storage, which means the tree stays intact, fully decorated.
Storing a permanently-decorated tree can be a bit tricky. The best way I’ve found is using an upright tree storage bag. It keeps the tree safe and ready for the next Christmas.
Now, undecorating the tree might not be as exciting as dressing it up, but think of it as unpacking after a vacation – it’s just something that needs to be done. Have a designated spot ready for storing your holiday decors like ornaments, lights, garland, and the topper. That way, you’ll know exactly where to put them once they’re off the tree. And if you used tinsel or ribbon, make sure to remove all pieces from the branches.

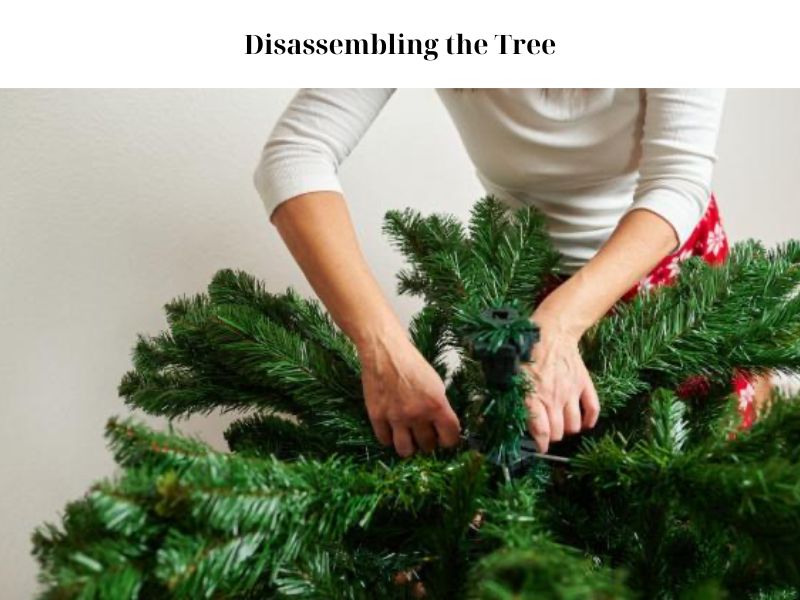
2. Disassembling the Tree
First things first, you’ll need to strip down your tree. I know it’s tempting to keep all the decorations on for an easy setup next year, but trust me, you’re more likely to end up with broken ornaments and lights. It’s safer to store them separately in their own containers. This way, they’re easier to manage when taking down, storing, and reassembling next year.
After you’ve got all the decorations off, it’s time to disassemble your tree. Start from the top and twist it slightly back and forth to remove it. If your tree is taller than you, you might want to use a stepping stool for this.
If your tree has pre-wired lights, remember to unplug the connector between the top section and the one below it. Be careful not to disconnect the plugs within each section. Keep working your way down until you’re left with just one section.
To prevent any damage to the branches or loss of needles, fold the branches in carefully. This is especially important for pre-lit trees as bad folding could cause wire shorts. Try to push the branches together as close as possible.
To make it easier for you next year, consider numbering each tree section. Just jot down the section number on a piece of tape and wrap it around a branch or electrical cord. If you’re storing your tree in multiple bags, label each bag with the sections inside so you know which one to grab first.
If you’ve wiped it down, give it enough time to fully dry. Smaller artificial trees usually fold up like an umbrella, but full-size trees have several parts. You might need to disassemble each branch before packing it up for the year. Check your instruction manual for specific details on how to dismantle your model.
Read more: cyber Monday Christmas trees deals
3. Cleaning and Dusting
To clean your tree, mix some warm water and a dash of dish soap in a spray bottle. Use this concoction to treat any stained areas on the tree and wipe them down with a soft cloth. As Puleo advises, let the tree dry thoroughly before you store it. Even though it’s artificial, any moisture trapped during storage could still cause damage.
Just like many other decor items in our homes, artificial trees tend to gather dust while they’re up for the holiday season. So, during your post-holiday cleanup, don’t forget to give those branches a good dusting. You can use a vacuum cleaner with a duster attachment or a damp cloth for this. Believe me, you’ll appreciate pulling out a clean, ready-to-use tree next year.

4. Wrapping and Sealing
Typically, folding up your tree’s branches post-decoration removal is sufficient, especially if you plan to store it indoors. But if you’re keen on going above and beyond, think about adding a layer of plastic wrap for extra moisture protection. This can be particularly useful if wayward branches make it tricky to fit your tree into its container. The plastic wrap helps keep those unruly branches in check. Self-sticking bandages can also work to bind the branches, but they won’t provide any moisture protection in a damp basement.
Another method is to wrap the branches closer to the tree’s center. This makes it easier to slide the tree pieces into a storage bag or box. Depending on your tree’s size, you can use bungee cords, zip ties, or string to secure the branches. But don’t wrap too tightly; you wouldn’t want to leave indents in the branches or make it difficult to fluff out your tree next year. Once the branches are secured, you can disassemble the sections for storage.

5. Labeling and Organizing Sections
Always remember to label! When it comes to storing Christmas decorations, putting labels on your storage containers can make locating and organizing your holiday trimmings a breeze for the next year. This is a real time-saver when you’re hunting for specific wrapping accessories, especially if you have a wide assortment of colors and patterns. Using clear labels or stickers on the containers’ exteriors makes it even simpler to find exactly what you’re looking for.

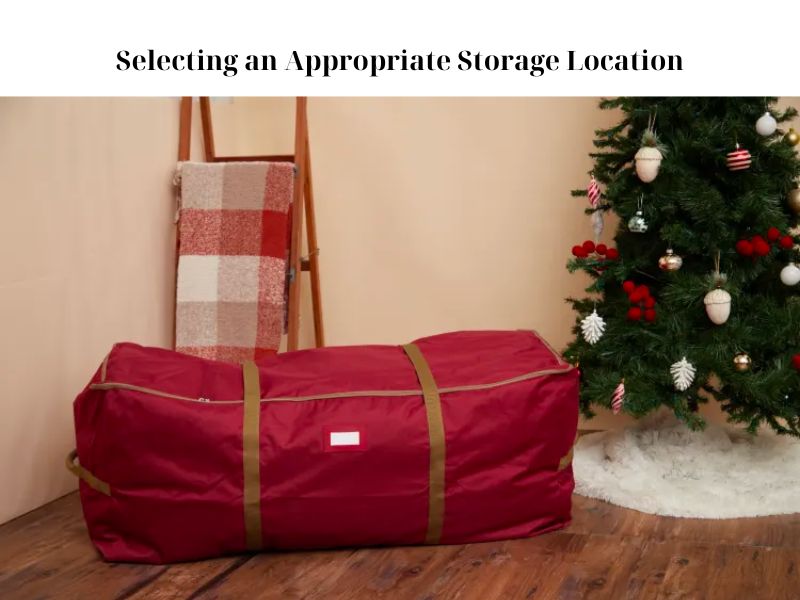
6. Selecting an Appropriate Storage Location
If you can, opt for a storage spot that’s climate-controlled. Intense temperatures can harm the tree or lead to warped branches. Keeping the temperature and humidity level steady will go a long way in maintaining the tree’s condition while it’s in storage.
FAQs About Christmas Tree Storage
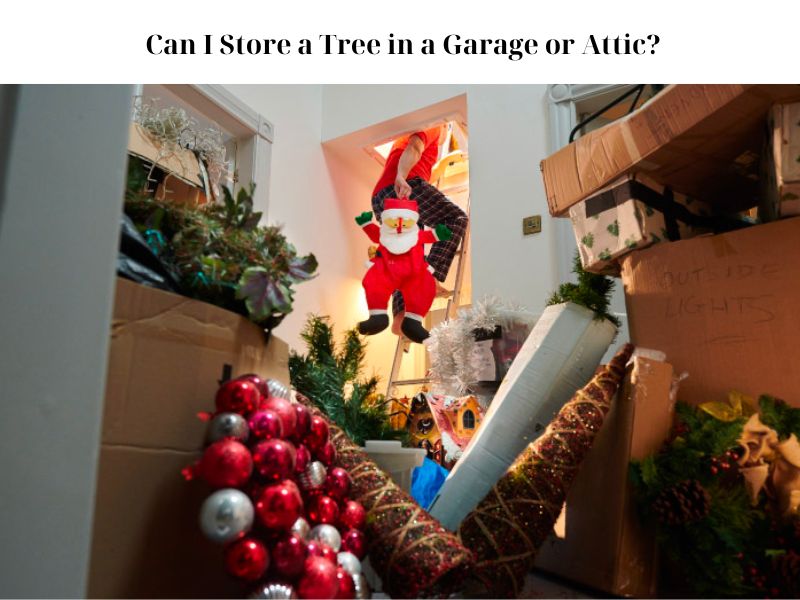
1. Can I Store a Tree in a Garage or Attic?
Ideally, you’d want to store your tree in a dry, clean, and temperature-regulated spot. That’s why basements or closets often make for better tree storage locations than attics or garages, provided that your basement stays dry.
2. What Is The Best Way To Store Christmas Trees?
First off, you’ll need to get a storage bag for your Christmas tree. You might think about reusing the box it came in, but remember that cardboard doesn’t hold up well, is prone to molding, and can actually harm your tree instead of protecting it. Our bags are made specifically for this use. If the storage container isn’t sturdy or designed for this purpose, your tree can quickly get damaged.
Once you’ve got the right storage bag, inspect your tree. Swap out any bulbs or strands that have burned out.
If your tree can be taken apart, it’s a good idea to do so. This makes it easier to fit into the bag and prevents branches and bulbs from getting bent or squashed.
Lastly, keep your Christmas tree in a dry, climate-controlled spot. This could be a closet or another storage area in your basement or attic. It’s best to avoid storing the tree in an outdoor shed or anywhere else that might be too hot, cold, or damp.
3. How Does A Christmas Tree Storage Bag Work?
A Christmas tree storage bag works by offering protection to an artificial tree. It is made specifically for these trees, and is sturdier than other types of storage solutions (such as a plastic bag or cardboard box).
4. How Do You Wrap A Christmas Tree?
If you’re aiming for extra compactness, using plastic wrap to bundle your Christmas tree can be a smart move. Just remember to leave spaces between the rows of plastic wrap to avoid trapping moisture which could lead to mold growth.
You have two options: either leave the branches on the tree and fold them upward, or disassemble the tree and individually wrap the branches.
Here’s how to go about it:
- Grab a large roll of plastic wrap.
- Begin at the base of the tree trunk and progress upward.
- Ensure you leave spaces between each row of plastic wrap as you ascend and encircle the tree.
- If you decide to remove and wrap the branches, position them against the tree before you start. Having an extra pair of hands can be extremely beneficial when dealing with a disassembled tree.

Hi, I’m Eugene B. Conley – the CEO of cybermondaychristmastree.com. I was born on December 13, 2000, and I’m a proud Sagittarius. I currently live at 3524 Reeves Street in Green Bay, WI 54301.
Before becoming the CEO of cybermondaychristmastree, I worked as a Meter Reader at The Pink Pig Tavern. While I enjoyed my time there, I had a passion for e-commerce and technology. I decided to pursue my dreams and started my own online venture.
At cybermondaychristmastree, we offer the best deals on Christmas trees during the Black Friday season, from Amazon to Walmart and many more. We help customers find the perfect tree for their homes at the most affordable prices, while also making their holiday shopping experience seamless.
Thank you for taking the time to read about me and my journey at Cyber Monday. I am committed to providing excellent service and quality products to all our customers.